"A picture is worth a thousand words. An interface is worth a thousand pictures."
— Ben Shneiderman, 2003
When it comes to creating sensation of traditional painting — digitally, nothing can be compared to Painter. Painter has so many brushes that closely mimic traditional methods of painting, it just awesome. And that's the foremost reason why I love Painter. Most of the time though, I bring thing back to Photoshop to quench that feeling, coming — 'back to home'.
Constantly, I remind myself an important factor, programs like Painter and Photoshop are just tools, and ofcourse they play a vital role. But the right composition, colour & skilled brusings are, few of the vital facets of the painting, and that can't come from a tool, but surely from the 'man' behind the tool.
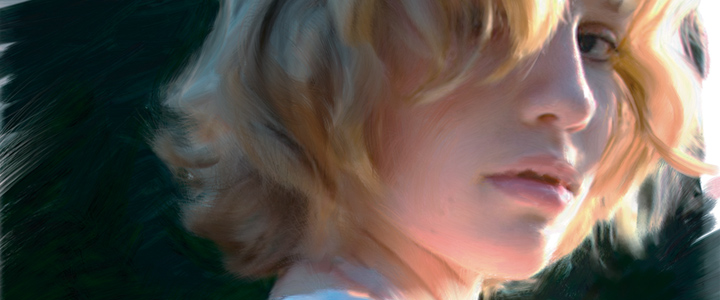
See below, some of the produce of Painter

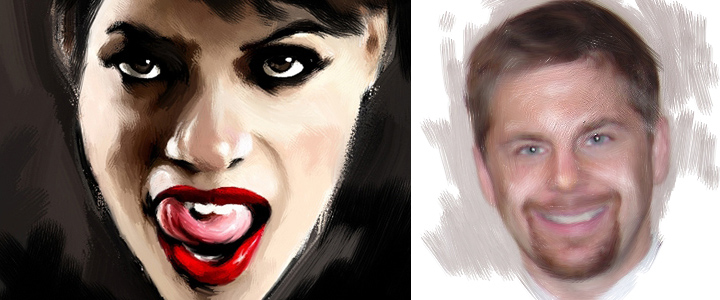
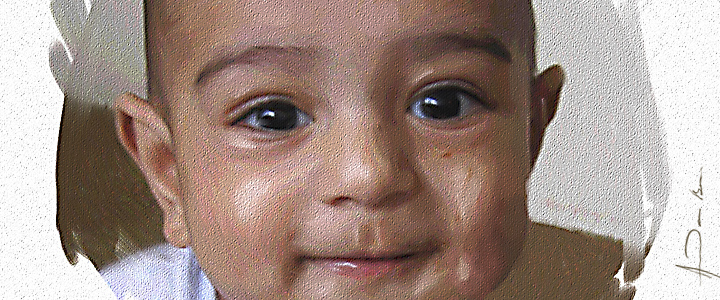
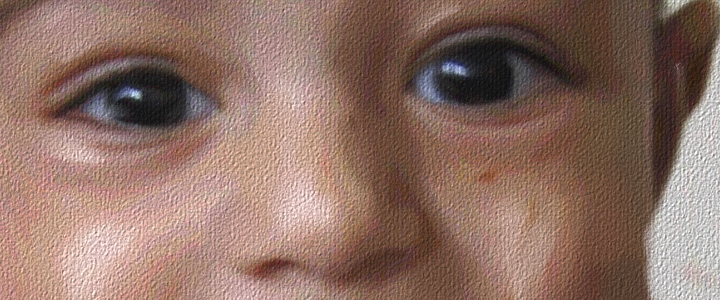
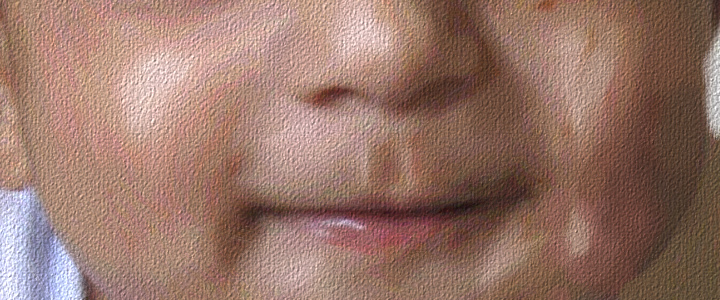
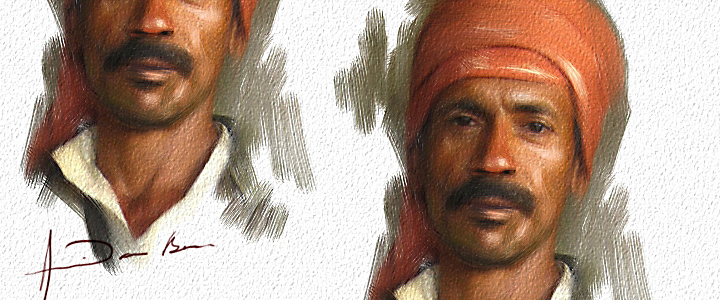
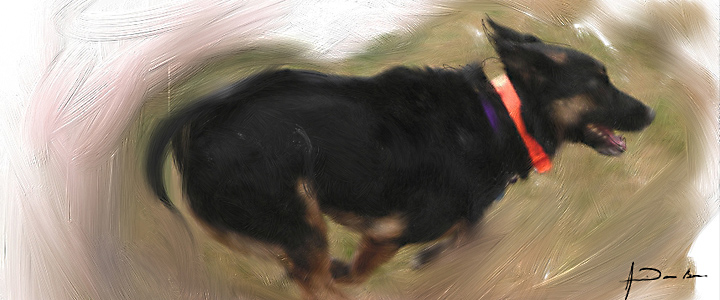
Generally I begin working on the digital photo or scan by making a clone of the image. Then, working on the clone, I turn on tracing paper and use a large-size soft cloner brush at 100% opacity to clone back what I need from the subject, leaving lots of white area around the outside edges. I want the Oil colour to look loose and "painterly" where it should, and realistic where it needs to be. I save the cloned image as a new file.
And the original source image I use for visual reference for light, colour & drawing, as if I would have use the actual outdoor spot as my main frame of reference. As I like to do my painting on layers above the canvas, that gives me flexibility to change part of my drawing any point of time.
For the following step, I add new layer above the canvas layer. I make sure to check "Pick up underlying colour" on the Layers palette. But often that is been over rule by what I like to achieve.
Working in layers allows me to click the paint layers on and off as needed so I can view the original image. This helps me to preserve the likeness of the subject.
It's easy to overblend color and detail with blending brushes, so I really pay attention to likeness and the feeling of depth. I'll paint the background first, adding color and brush strokes, working into the things like hair and clothing to keep edges "painterly." Sometimes I blend the colors as I paint; sometimes I use blenders after adding color. It's good to keep colors that are next to skin tones on the cool side. Playing with colors, juxtaposing warmer and cooler colors throughout the painting, will create roundness and depth.
With loose strokes, I create a soft lovely background bringing color out into the white areas, trying always on this kind of oil colour to avoid a hard rectangle.
"The fusion of art and technology that we call interface design."
— Steven Johnson, 1997
Keeping the background dark next to the face accents the pensive look of the subject. I used Variable Round in the oils category and Captured Bristle in the Acrylics category to add highlights and color to the face and hair, blending with Grainy Water and Soft Blender Stump on the face a little, but keeping the brushstroke texture, especially in the hair. When I am looking for a soft, brushy look in a oil colour image, I love the brushes in both the Acrylic and the Oils categories. Painting the edges with looser strokes will add to the painterly qualities.
The final steps are to loosen up the edges even more with some bold strokes all around the image.
This is the time for what I call — 'time for magic touch'. This time of the process I like to work slowly, and try to sense the overall achievement. If needed, downplay or losing the details a bit areas of the painting to pronounce clearly the 'point of interest'. And adding highlights to the right places, is like blowing the breath of life in to nostrils of the painting. It brings life of the painting and that would bring the conclusion of the painting process.